A new drain can look perfectly sound from ground level, then cause trouble as soon as the trench is filled and the driveway, patio or floor slab goes down. That is why knowing how to test new drainage before backfilling matters. The right checks confirm that pipework is watertight, correctly connected, free-flowing and built to the required fall – while any problem is still accessible and affordable to put right.
For an extension, renovation or new build in the West Midlands, do not rely on a quick flush from a hosepipe alone. A proper test should match the drainage design, the pipe type and the requirements of Building Control or the relevant sewerage authority. It should also leave a clear record of what has been installed.
Test new drainage before the trench is closed
The best time to test is after the pipework, chambers and connections have been installed, but before backfill covers the line. Every socket, branch and change of direction should still be visible. If a defect is found at this stage, it is normally a straightforward repair rather than an excavation job a few months later.
Start with a visual inspection. Check that the pipes are fully seated in their sockets, with seals clean and correctly positioned. Look for cracked fittings, distorted pipework, unsupported joints and debris left inside the run. The bedding should support the full length of the pipe, not just the joints, and sharp stones should not be sitting against the plastic.
Falls need attention too. Foul drainage has to run downhill at a suitable gradient so waste water carries solids away without racing through and leaving them behind. Too little fall can lead to standing water and repeat blockages. Too much fall can also create problems, particularly on longer runs. The designed level and gradient should be checked with a laser level or other suitable site equipment, rather than judged by eye.
Before testing, make sure open pipe ends are safely capped or plugged. Test plugs must be securely fitted and suitable for the pipe size. A loose plug under pressure can cause injury and damage, so this is not a corner to cut.
Water testing new drainage
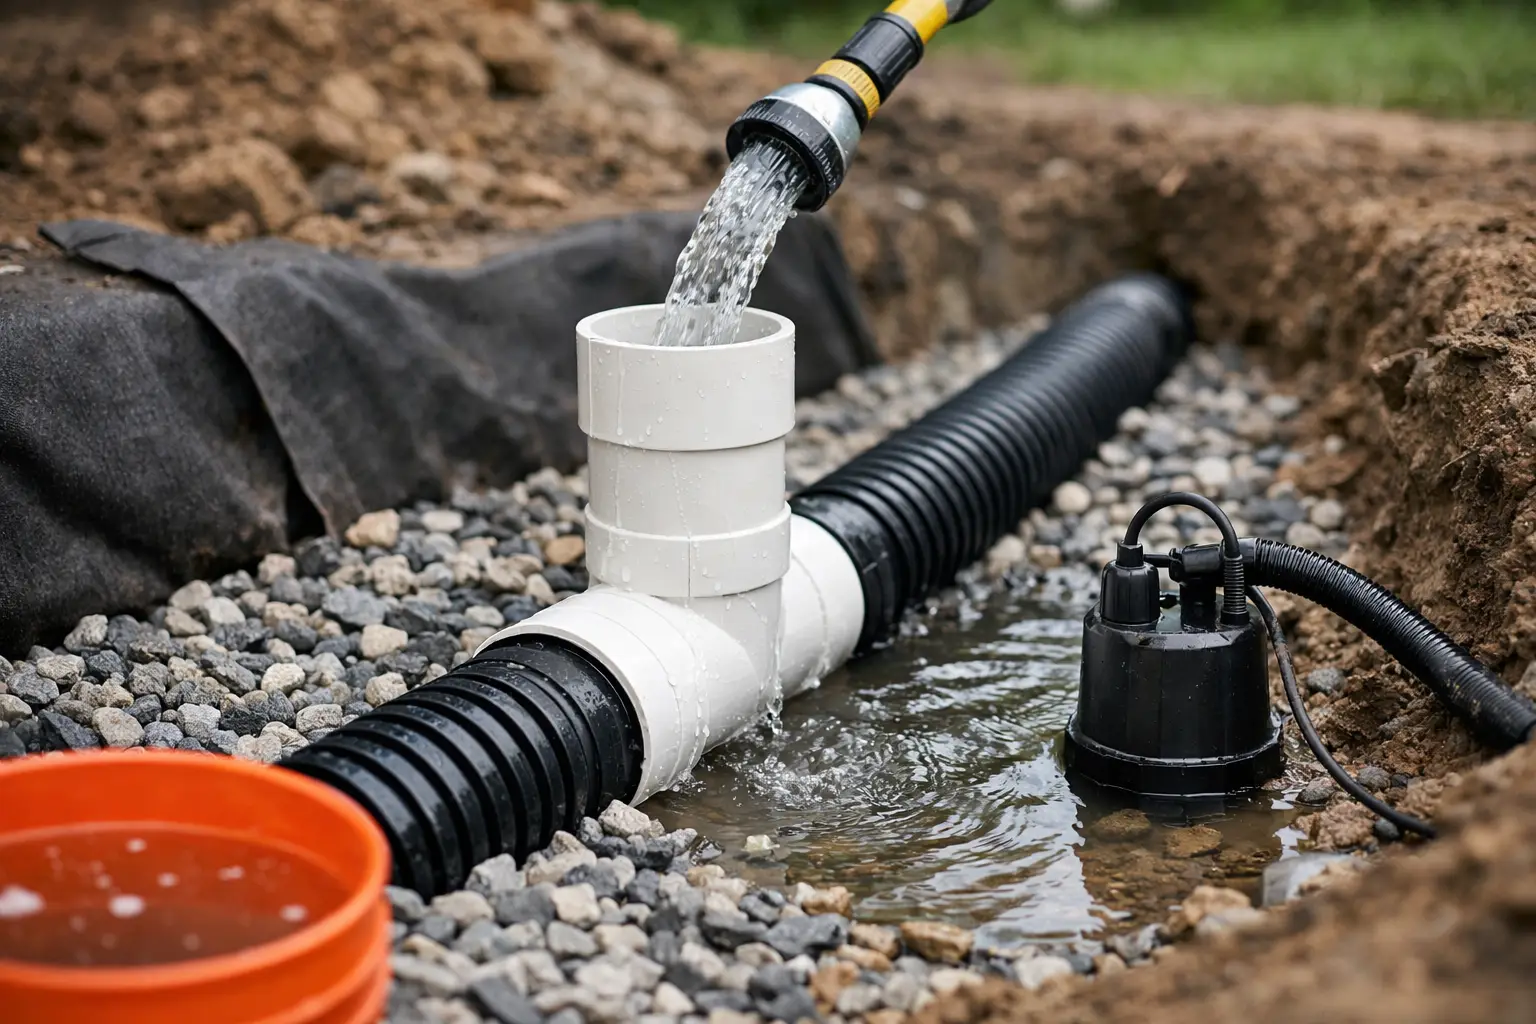
A water test is one of the clearest ways to identify leaks in a newly installed drain. It is commonly used on gravity drainage because it shows whether joints, pipe sections and chambers can hold water under a controlled head.
The section being tested is sealed with test plugs, then carefully filled with water to the specified level. After allowing time for the system to settle, the water level is monitored for a set period. A significant drop can indicate a leaking joint, damaged pipe or poorly sealed connection. The exact test arrangement, water head and acceptable loss depend on the specification for the job, so follow the approved drawings and the instructions from Building Control or the project engineer.
Water testing is particularly useful where a new foul drain joins an existing private drain, where several branches meet in an inspection chamber, or where pipework will be hidden below a concrete floor. It can also reveal a chamber benching issue that is allowing water to sit rather than flow through the channel.
A water test does have limits. It may not show whether a drain has a poor fall, an obstruction or a badly aligned connection further along the run. That is why it should be combined with a flow check and, where appropriate, a CCTV survey.
Air testing and when to use it
An air test checks whether a sealed section of drainage can maintain a low, controlled air pressure. It is often quicker and cleaner than filling a pipe with water, especially where the run is not practical to fill or where cold weather makes water testing less convenient.
However, air testing needs competent handling. Temperature changes, poorly fitted plugs and even small movements in the equipment can affect the reading. The pipework must be isolated properly, the pressure must be introduced slowly, and the result must be assessed against the correct standard for the installation.
For that reason, air testing is usually best carried out by an experienced drainage contractor rather than treated as a DIY task. If pressure falls, the source still needs finding. That may mean exposing a joint, checking a branch connection, or using CCTV to inspect the line from inside.
Check flow, falls and connections
Once the drain has passed a watertightness test, carry out a practical flow test. Run a controlled volume of clean water through each branch and watch how it moves through the inspection chamber. The flow should be steady, with no backing up, pooling or slow discharge.
This is where incorrect connections are often caught. On a typical property, foul water from toilets, sinks and appliances should be kept separate from surface water from gutters, gullies and drives unless the drainage system has specifically been designed as combined. Connecting a rainwater downpipe into foul drainage can overload the system in heavy rain. Sending foul water into a surface-water drain is a more serious error and can create pollution risks.
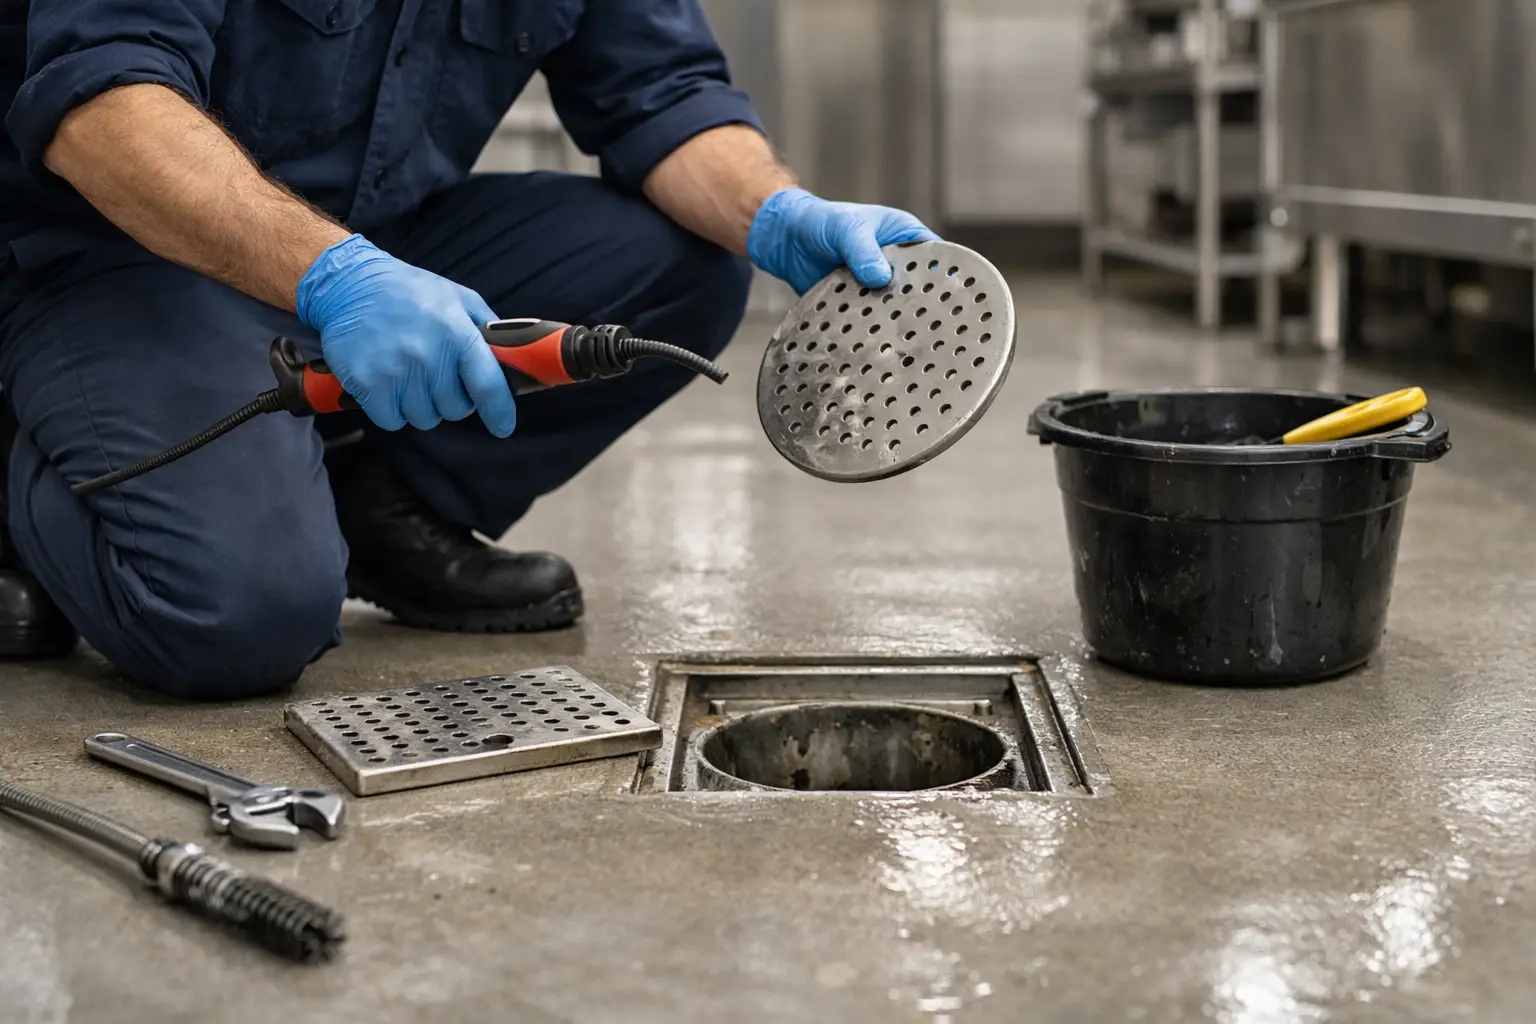
Check every access point as the water passes through. Water should enter and leave chambers through the correct channels, not spill over broken benching or disappear around a pipe entry. Gullies should have traps where required, and rodding access should remain available after landscaping or paving is completed.
If the new pipework connects to an existing drain, test that connection with particular care. Older drains may be cracked, misaligned or partially blocked. A sound new line is of little use if it discharges into a failing section downstream.
Why a CCTV drain survey is worth considering
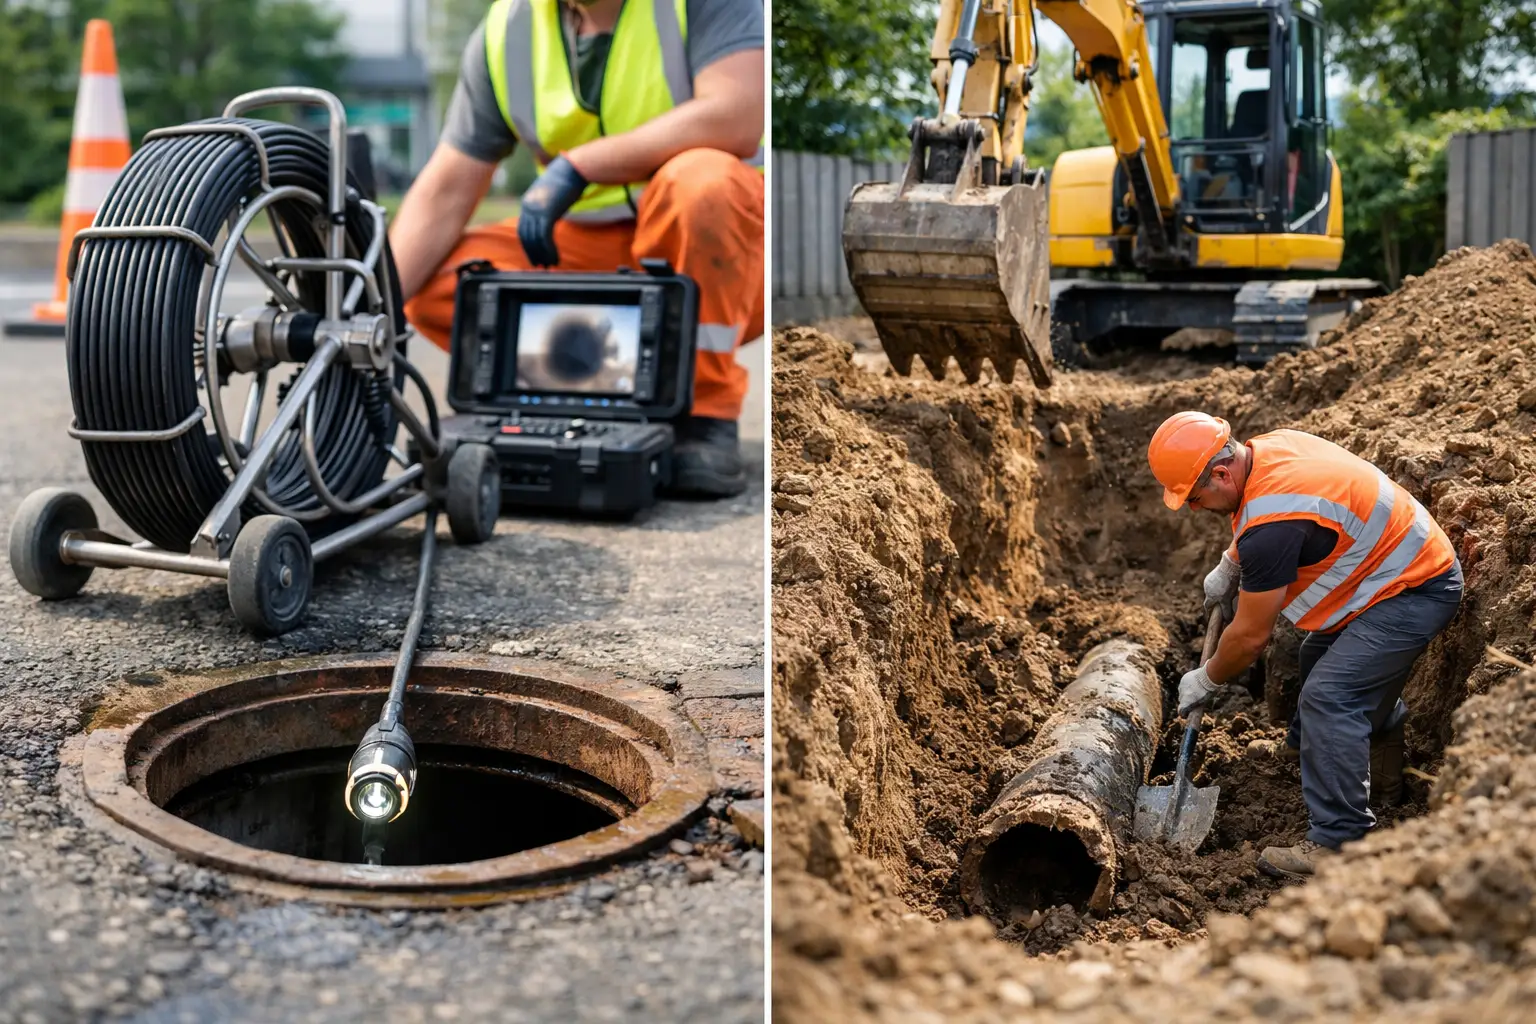
A CCTV drain survey gives a direct view inside the new drainage before handover. A camera is fed through the pipe, recording joints, bends, connections, levels and any debris. It is one of the most useful checks for new builds, extensions and major renovation work because it creates evidence that cannot be gained from a surface inspection alone.
The survey can identify displaced joints, defective seals, construction material in the pipe, a sag in the line, root ingress from an older section, or a connection that has been made into the wrong channel. It also confirms that no rubble has entered during the build – a common cause of early blockages.
For landlords, developers and commercial property managers, the footage and written report can be valuable at handover. It provides a condition record before tenants move in or before contractors leave site. If a fault appears later, there is a clear baseline to work from rather than an argument about when the damage occurred.
At West Midlands Drainage, we use professional CCTV equipment to diagnose the actual condition of the line, not make assumptions from symptoms above ground. That approach helps avoid temporary fixes and unnecessary excavation.
Do not backfill until the evidence is clear
A passed test is only useful if it is recorded. Keep the drainage layout, pipe sizes, test results, photographs of open trenches and any CCTV footage with the property documents. Mark the position of inspection chambers and buried runs before patios, turf or block paving hide them.
Backfill should then be placed carefully so the installed pipework is not moved or damaged. Use suitable surround material where specified, compact in layers and avoid dropping heavy material directly onto the pipe. Do not allow construction traffic over a new drain until it has the required cover and protection.
The cheapest time to correct a leaking joint, poor gradient or wrong connection is before the trench disappears. A careful test now can prevent blocked drains, damp ground, unpleasant odours and costly digging later – and gives you confidence that the drainage beneath the property has been built to do its job properly.