A new driveway, extension or commercial fit-out can look finished above ground while a costly drainage problem is already buried below it. The best practices for drainage installation start before a trench is opened: understand where water needs to go, what is already in the ground, and whether the proposed system can be accessed and maintained for years to come.
Drainage is not an area for guesswork or the cheapest quote. Incorrect falls, poorly supported pipework and untested connections can lead to repeat blockages, foul odours, flooding and excavation work that could have been avoided. A properly planned installation protects the property, meets the relevant requirements and gives you a clear route to repair or maintain the system if needed.
Best Practices for Drainage Installation Start With a Site Assessment
Every site has its own constraints. Ground levels, existing pipe routes, nearby trees, extensions, utilities and the location of public sewers all affect the design. On an older property in Wolverhampton, Walsall or Dudley, original clay drains may also be cracked, displaced or connected in ways that are not obvious from inspection covers alone.
The sensible first step is to identify the existing drainage layout. Lifting chamber covers may show the direction of flow, but a CCTV drain survey gives a far clearer picture of pipe condition, diameters, junctions and defects. It can reveal whether an existing run is suitable for a new connection or whether it needs repairing first.
This diagnosis-led approach prevents a common mistake: adding new drainage to an already compromised system. If roots, fractures or poor joints are causing restrictions downstream, connecting an extension, new bathroom or additional gullies may simply make the problem worse.
Before work begins, an installer should also check for underground services. Gas, electric, water and communications cables must be located and protected. Striking a service during excavation is dangerous, disruptive and far more expensive than planning the route properly.
Keep Foul Water and Surface Water Separate
Foul drainage carries wastewater from toilets, sinks, showers, washing machines and commercial sanitary facilities. Surface water carries rainfall from roofs, paved areas, yards and driveways. These flows should be kept separate unless the local sewer arrangement and approvals specifically allow otherwise.
Sending rainwater into a foul system can overload pipes during heavy weather and contribute to sewer flooding. It may also breach Building Regulations or the requirements of the relevant water company. Equally, foul water must never discharge into a surface water drain, watercourse or soakaway.
For many properties, the preferred order for roof and surface water is to discharge into a soakaway where ground conditions allow. If that is not practical, a connection to an approved surface water sewer may be possible. The right option depends on permeability testing, available levels, the size of the roof or hardstanding area, and local drainage arrangements.
A soakaway is not simply a hole filled with stone. It must be sized for the runoff it will receive and positioned safely away from buildings and boundaries. Poorly designed soakaways can saturate ground close to foundations or fail after the first period of sustained rain.
Set the Correct Fall From the Start
Gravity drainage only works if water and solids can travel through the pipe at the correct speed. Too little fall allows waste to settle and creates recurring blockages. Too much fall can leave solids behind as water runs ahead of them. The required gradient depends on the pipe diameter, the type of flow and the system design.
Levels should be set using suitable measuring equipment, not judged by eye. This matters particularly on extensions where the new internal floor level, external ground level and depth of the existing sewer leave limited room to achieve a workable fall.
Where there is not enough depth, forcing a pipe into an unsuitable gradient is not a solution. It may be necessary to alter the route, use a different connection point, reconsider the external levels or, in some situations, install a pumped solution. Pumps have a place, but they introduce moving parts, electrical dependency and ongoing maintenance. A gravity system is generally preferable where it can be designed correctly.
Use the Right Pipe, Bedding and Joints
The pipe material and diameter must suit the job. Modern underground drainage installations commonly use suitable plastic pipework, while existing properties may have clay or cast-iron sections that need careful adaptation. Connections between different materials need the correct couplings to remain watertight and stable.
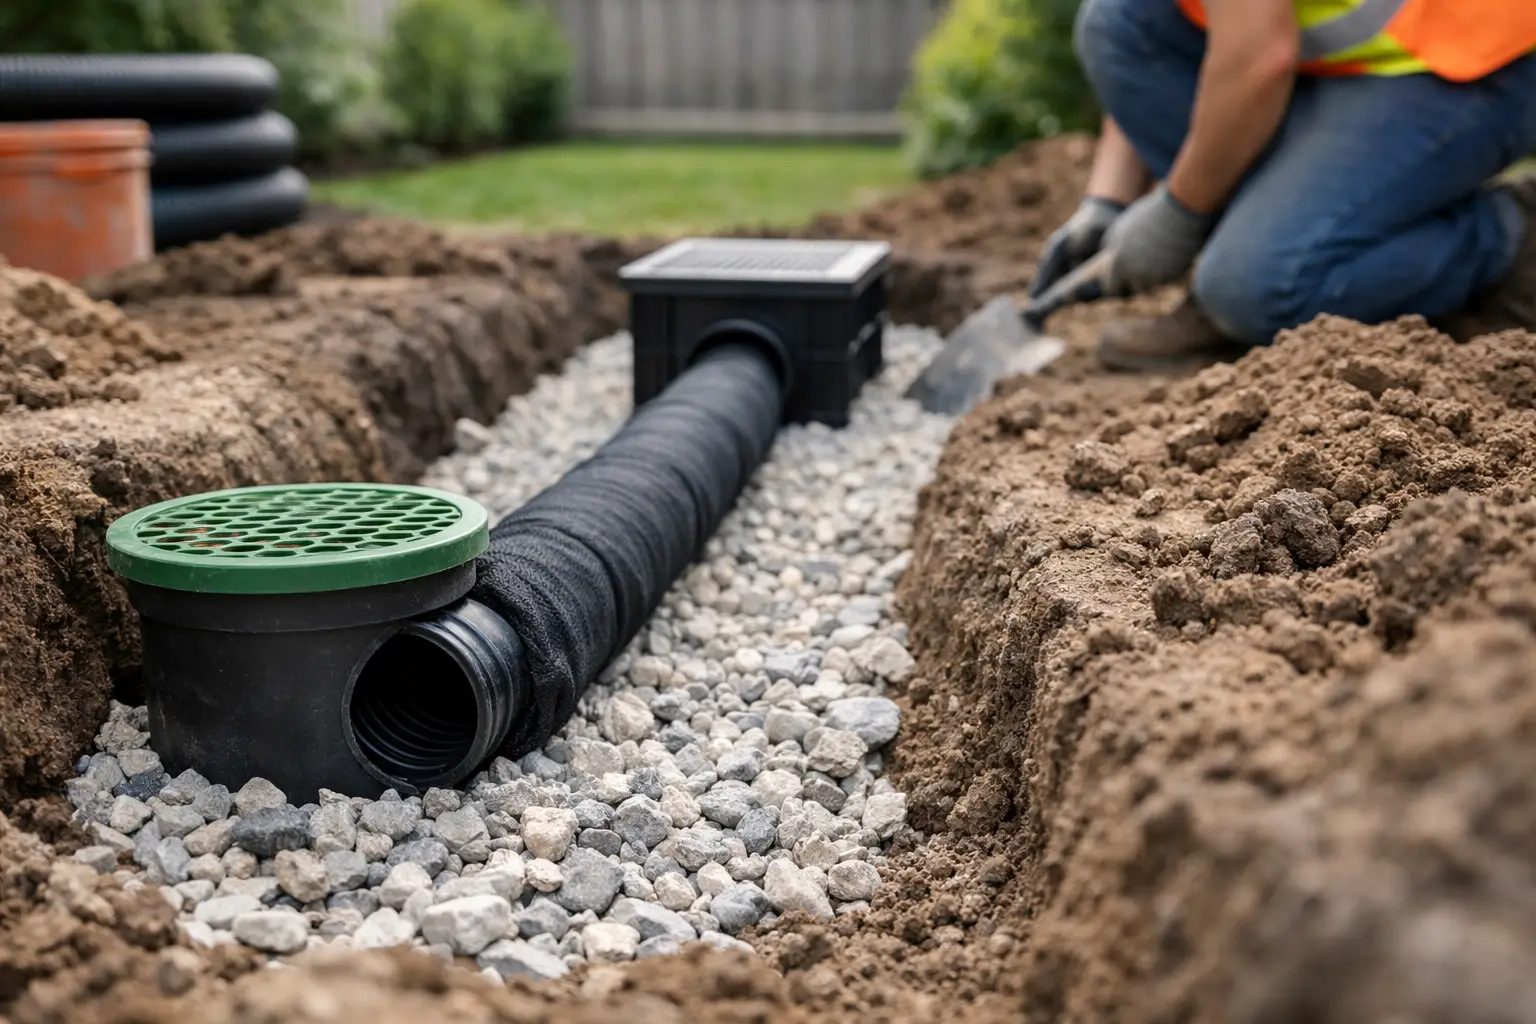
Pipes should be laid on properly prepared bedding, with consistent support along their length. Stones, rubble and uneven trench bottoms create point loads that can distort plastic pipe or crack older materials. Once laid and checked, the pipe should be surrounded and backfilled with suitable material in stages rather than dropped into a trench with large lumps of spoil.
Joints need equal attention. A connection that appears fine on installation day can admit roots or leak wastewater if seals are damaged, pipes are not fully inserted or the run moves after backfilling. Clean jointing, correct alignment and proper support are what make a drainage system durable rather than merely functional.
Build Access Into the System
Drainage has to be maintained eventually. Even well-installed pipework can be affected by fat, wipes, scale, silt, roots or accidental damage. Access chambers and rodding points allow blockages and inspections to be dealt with without digging up paving, lawns or finished floors.
Chambers should be placed at sensible intervals and at changes in direction or junctions, with covers suited to the location and expected loading. A lightweight cover may be acceptable in a garden, but a driveway or commercial yard requires a cover designed for vehicle traffic. Covers should also be set neatly to the finished surface level so they do not become a trip hazard or collect standing water.
Avoid hiding every access point beneath permanent decking, expensive paving or a new extension. It may look cleaner on day one, but it can turn a straightforward drain clearance into a costly excavation later.
Protect New Drains During Building Work
Freshly installed drainage is vulnerable while other trades are still on site. Plant traffic can crush shallow pipes, concrete washout can set inside a drain, and builders’ waste can create blockages before the property is occupied. Open pipe ends should be securely capped, chambers covered safely, and the route clearly marked.
It also pays to keep heavy vehicles away from drainage runs unless the system has been designed and protected for that loading. If a pipe must cross a trafficked area, the installation may need greater depth, additional protection or a revised layout. This is one of those situations where the lowest initial cost can create the highest repair bill.
Test, Inspect and Record the Finished Work
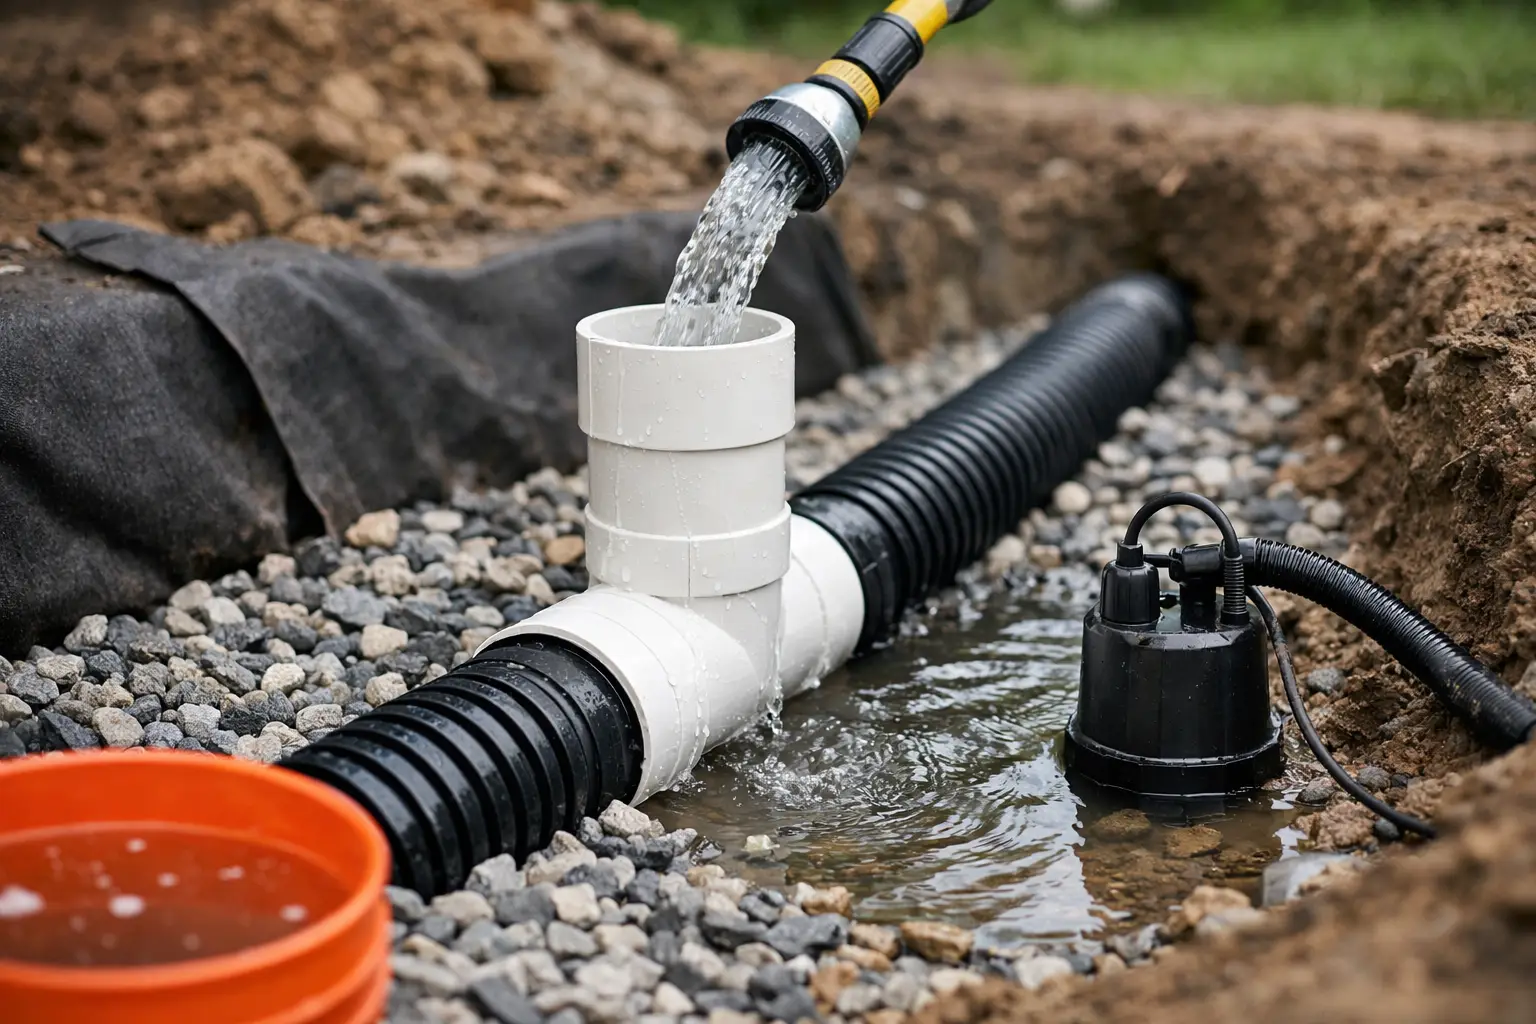
No drainage installation should be signed off on appearance alone. Before surfaces are reinstated, the system should be tested for watertightness and flow. A visual check may identify obvious issues, but CCTV inspection is particularly useful for confirming that joints are sound, falls are consistent and no debris has entered the pipework.
Testing before a driveway, patio or floor is completed gives faults a chance to be corrected while access is still straightforward. It also provides evidence of the installation condition at handover, which is useful for property owners, landlords, developers and future buyers.
Keep a simple record of pipe routes, chamber positions, depths, diameters and connection points. Photographs taken before backfilling can be valuable years later when planning a garden project, fitting a gate post or investigating a suspected fault. For work near a public sewer, check whether approval from the sewerage undertaker and Building Control is required before construction starts.
A sound drainage installation should disappear into the background once the work is complete. That is the point. When the planning, levels, materials and testing have been handled properly, water goes where it should, access remains available, and the property is far less likely to face an avoidable emergency when the weather turns.